

A rain sensor is the small accessory that makes an automatic irrigation system truly smart: once enough rain has fallen, it suspends watering, then lets the controller resume on its own when it has dried out. The result: less wasted water and a garden protected from overwatering.
How does a rain sensor work?
It is a wired sensor installed outdoors. On the Hunter Mini-Clik, for example, discs absorb rainwater; when they have swollen enough, the circuit opens and all zones stop. As the discs dry out they shrink back, and normal watering resumes automatically. The sensor connects to the controller’s “sensor” input or in series on the valves’ common wire.
The four sensors in our shop
- Hunter Mini-Clik: adjustable rain threshold from 3 to 20 mm, 7.5 m cable, fixes to a wall or gutter. Compatible with all Hunter controllers and most other brands, with a 5-year manufacturer’s warranty.
- Hunter Rain-Clik: Quick Response technology, which interrupts watering about 2 to 5 minutes after rain starts. It resets in about 4 hours in dry, sunny weather, and an adjustable vent ring lets you fine-tune the drying time. 7.6 m cable, 5-year warranty.
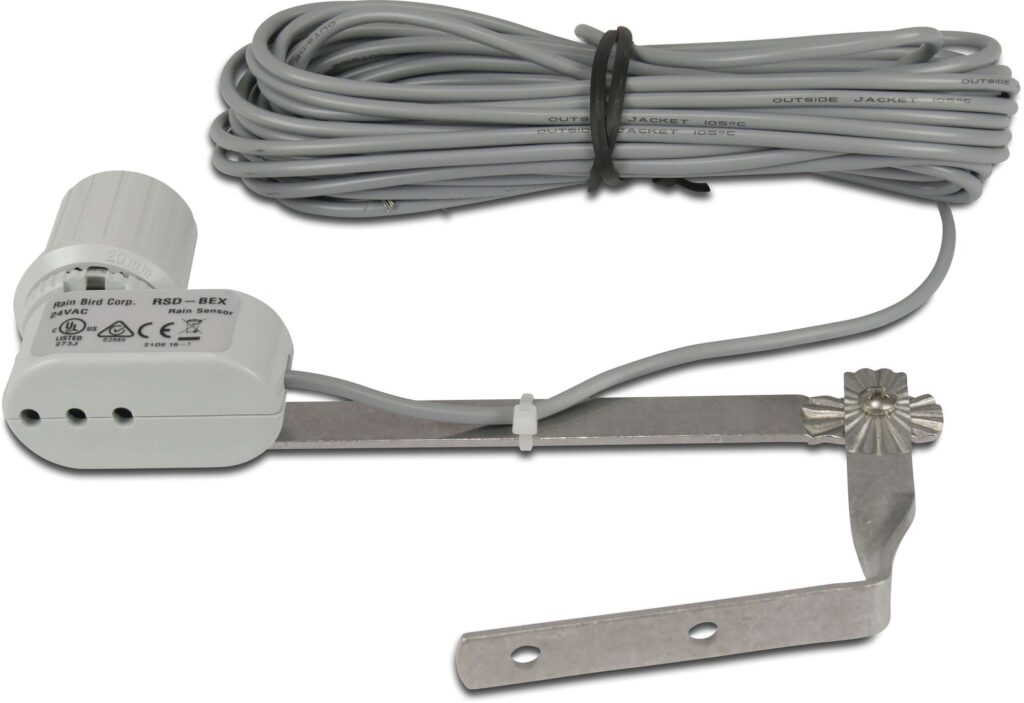
- Rain Bird RSD-BEx: threshold adjustable from 5 to 20 mm with a simple dial, with a 7.6 m cable and a locking aluminium bracket included. It suits 24 V AC circuits and can handle up to ten solenoid valves per station, plus a master valve. CE approved.
- Orbit RX-1.5: adjustable wired sensor, simple and economical, connecting to the controller’s sensor input. It interrupts the cycle when rain is detected and lets watering resume once it has dried.
Which sensor for which controller?
- Rain Bird controller (ESP-TM2, ESP-ME3): the RSD-BEx, designed for the brand’s controllers.
- Hunter controller (X2, XC, ELC): the Mini-Clik, or the Rain-Clik if you want a very fast shut-off.
- Orbit controller (Pocket Star Ultima, with a rain sensor input): the Orbit RX-1.5.
Before ordering, find the “SENS” or “Sensor” terminals on your controller: that is where the sensor connects. According to its manual, the Rain Bird ESP-ME3 accepts normally closed sensors, so the RSD-BEx is the natural choice for this model.
Installing a rain sensor in 6 steps
- Choose the location. An open spot with good exposure to rain, away from gutters, trees, sprinklers and strong wind. A very sunny location dries the sensor faster; a shaded one dries it more slowly. Keep it within 7.6 m of the controller, the length of the cable supplied.
- Fix the sensor in place with its bracket, on a wall, a post or a gutter.
- Run the cable to the controller, with the controller switched off.
- Connect the two wires to the controller’s “sensor” terminals, after removing the small factory-fitted jumper. If there are no dedicated terminals, fit the sensor in series on the valves’ common wire.
- Activate the sensor. On Hunter controllers, set the sensor switch to “Active”; the “Bypass” position lets you ignore it temporarily.
- Test it. Start a manual run of all stations and trigger the sensor (on a Mini-Clik, by pressing the top of the sensor): watering should stop. Note that on Hunter controllers, manually starting a single station ignores the sensor, so do not test it that way.
The sensor needs no maintenance. The Mini-Clik does not need to be removed for winter.
Taking it further
To make your watering take the forecast into account too, pair the sensor with a Rain Bird LNK2 Wi-Fi module: the app delays watering when rain is forecast.
Need help choosing? Email info@arrosagepro.com with the brand and model of your controller.
Official sources: Hunter Mini-Clik support · Rain Bird RSD sensor manual (PDF) · ESP-ME3 controller manual (PDF, French)