


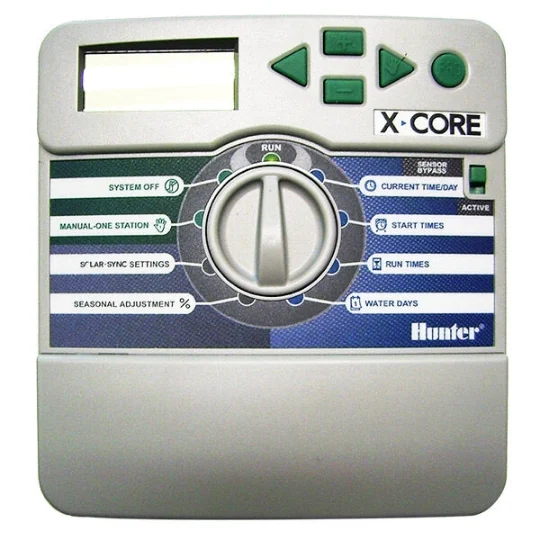
The controller is the brain of your irrigation system: it decides which zone is watered, at what time and for how long. The good news is that installing it is well within reach of any keen DIYer, as long as you follow the steps in order.
Before you start
- Count your zones: one zone = one solenoid valve = one controller station.
- Choose indoor or outdoor: indoor models need to be kept under cover (garage, utility room), while outdoor models can cope with the weather.
- Check the valve voltage: on mains power, the valves run on 24 V AC.
- Prepare the cable: one common wire for all the valves, plus one wire per zone.
Which controller for which garden?
- Small or medium garden, simple programming: the Hunter XC-401i-E, XC-601i-E and XC-801i-E, with three programmes and a rotary dial. Or the ELC-401i-E and ELC-601i-E, with 4 start times per programme.
- A rain sensor from day one: the Orbit Pocket Star Ultima controllers offer 2 programmes, up to 8 start times per day and a rain sensor input.
- Upgradeable to Wi-Fi: the Rain Bird ESP-TM2 indoor models (4, 6, 8 or 12 stations) accept the LNK2 module.
- Programming from your phone: the Solem BL-IS2, BL-IS4 and BL-IS6, mains-powered, with 24 V solenoid valves.
- Outdoor installation: the Hunter X2, with an IP55 plastic casing, or the ESP-TM2 outdoor models.
Installation in 7 steps
- Mount the controller close to its power supply, at eye level, under cover for indoor models.
- Identify the wires from the valves: one common wire and one wire per zone. Label each wire with the name of its zone (front lawn, hedge, vegetable patch…).
- Connect the valves: the common wire to the “C” (common) terminal, then each zone wire to its numbered terminal. If your system has a master valve, it connects to the terminal provided for it.
- Connect the rain sensor if you have one, to the “sensor” terminals: it is all explained in our article on rain sensors.
- Power up the controller. For a fixed connection to the 230 V mains, it is best to have an electrician do the work.
- Set the time and date, then create your programmes: watering days, start times and the run time for each station.
- Test each zone using manual start: check that each valve opens the right zone, and adjust the sprinkler heads if needed.
A few programming tips
- Water early in the morning: the water soaks in better and less of it evaporates.
- Separate plants with different needs (lawn, hedge, drip irrigation) onto different stations.
- Keep one or two stations spare for future changes, or choose a modular controller that grows with add-on modules.
- With Wi-Fi-compatible Rain Bird controllers, the app offers seasonal adjustment: a single setting to adapt run times to the seasons.
Not sure about the model or the wiring? Email info@arrosagepro.com with the number of zones and the brand of your valves.
Official source: ESP-ME3 controller manual (PDF, French) — mounting, installing modules, commissioning